How to run Linux on Macbook M1
on Macbook, M1, Arm, Linux, Emulation, Apple, Alpine
For some reason, we need to run applications on x86 arch cpu and even the rosetta hase a good job in daily usage. In this blog, i will explain how run Linux distro in macbook M1 at Arm architecture.
I select alpine as a my main distro, because it is very lightweight distro. I also test Ubuntu Desktop and Ubuntu server. I personally don’t recommend a distro which has a Graphical Interface due to low emulation capabilities on our system.
Setup
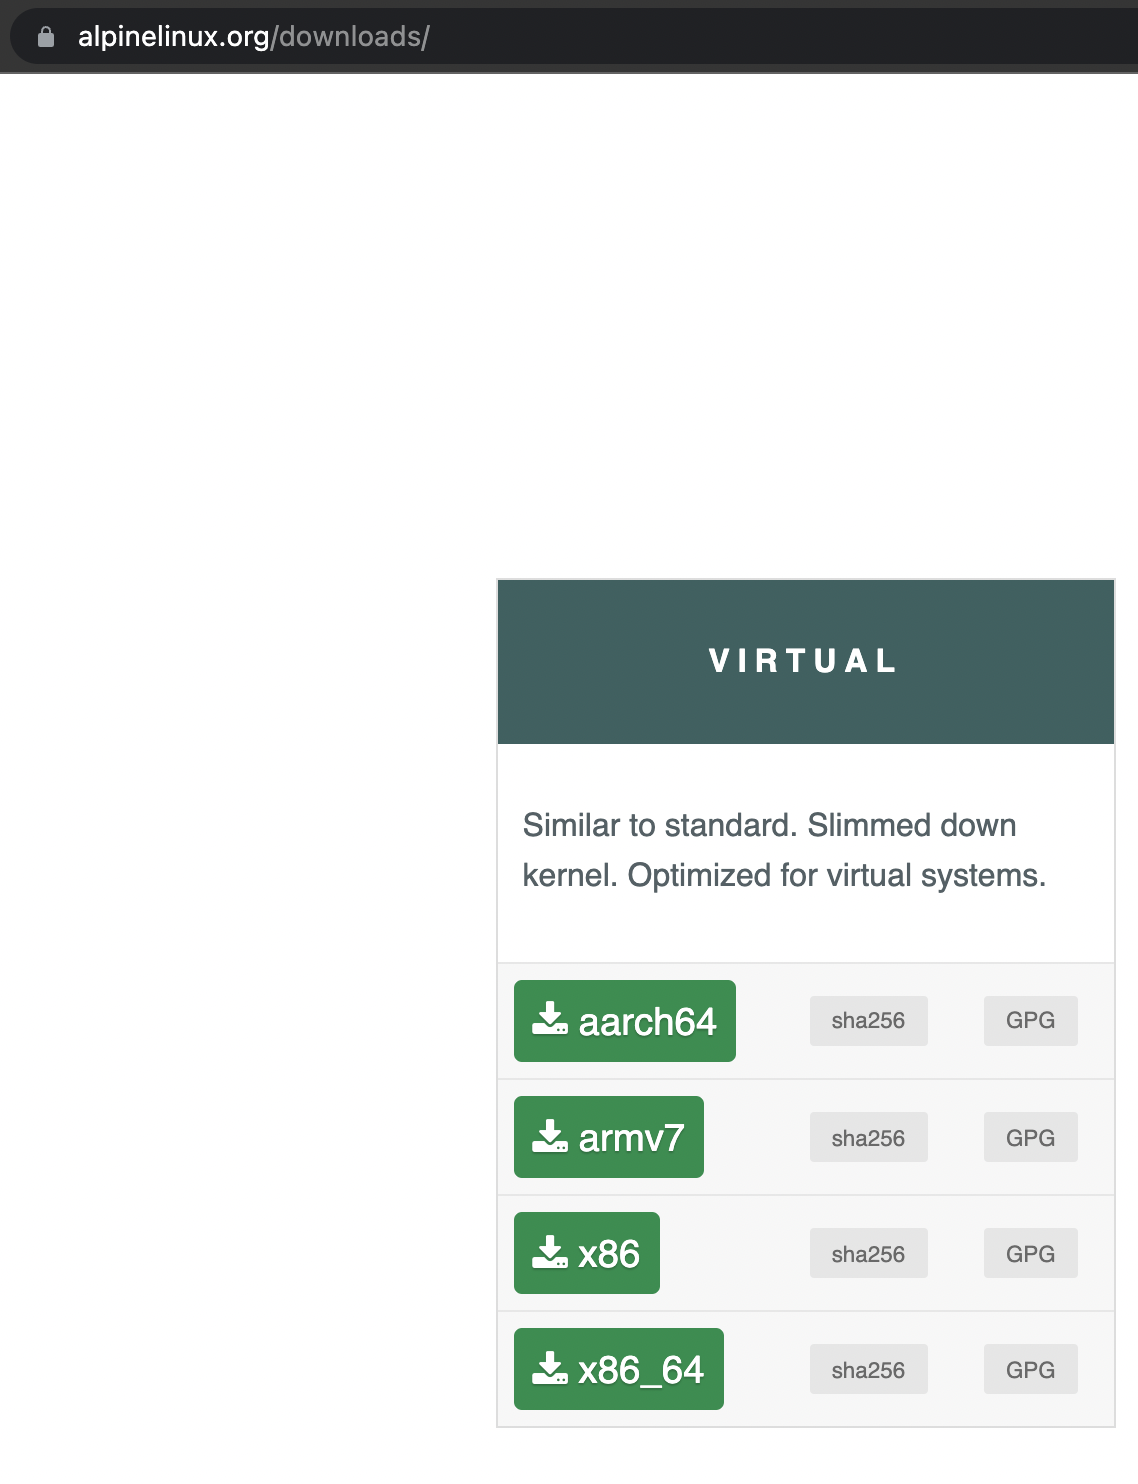
Let’s start to install alpine. Before start doing bellow lines, you have to download alpine virtual x86_64 from their website.
After download is complete, rename iso file name to alpine.iso
Install Qemu
If you are using a macbook, I assume you have homebrew installed on your system. If not you can install from brew.sh
brew install qemu
Create Virtual Disk
To install and save our changes, we need virtual storage. I will create a 16 gigabayt disk size which is mostly enough for my testing purposes.
mkdir -p ~/Documents/alpine_vm/
cd ~/Documents/alpine_vm/
qemu-img create -f qcow2 alpine.qcow2 16G
Setup OS
Start your vm with the below command.
qemu-system-x86_64 \
  -m 2048 \
  -vga virtio \
  -usb \
  -device qemu-xhci \
  -device usb-kbd \
  -device usb-tablet \
  -drive file=$HOME/Documents/alpine_vm/alpine.qcow2,if=virtio \
  -M pc -smp 4 \
  -net user,hostfwd=tcp::10022-:22 \
  -net nic \
  -cpu qemu64 --accel tcg,thread=multi \
  -boot d -cdrom $HOME/Downloads/alpine.iso
You will see the boot part. When the boot is complete, the OS asks for the username. Just type root and then enter. (System does not ask for a password) 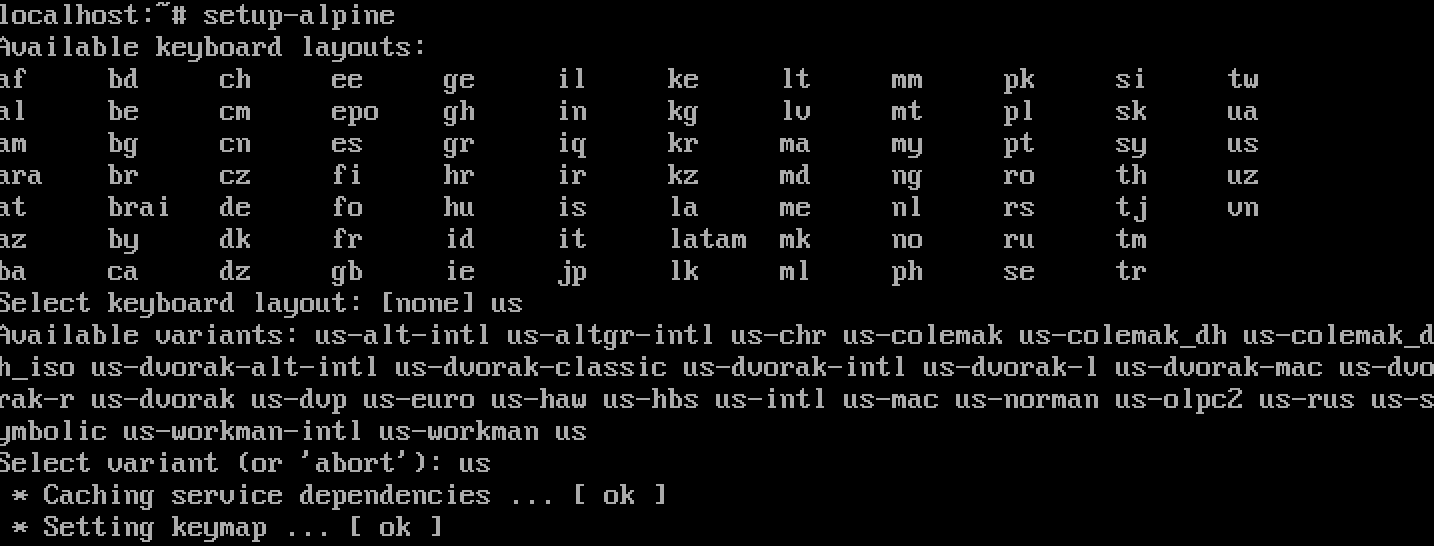 Run
Run setup-alpine command to start installing distro to disk.
Enter keyboard layout firstly, then set up the type of the keyboard. In the next, mostly we do not interact with vm via virtual display. So just type us and then enter.
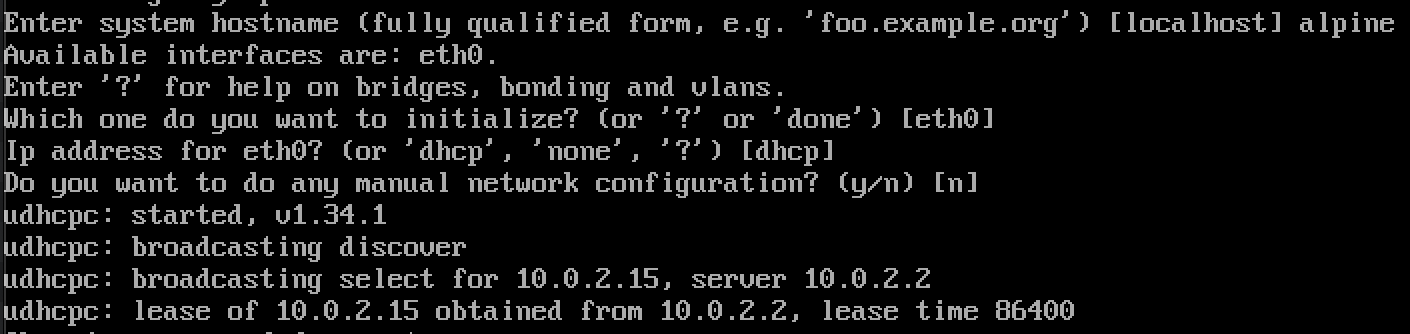
For the next part is network configuration. The default configuration is enough for our requirements, press enter a few times until see the password ask.
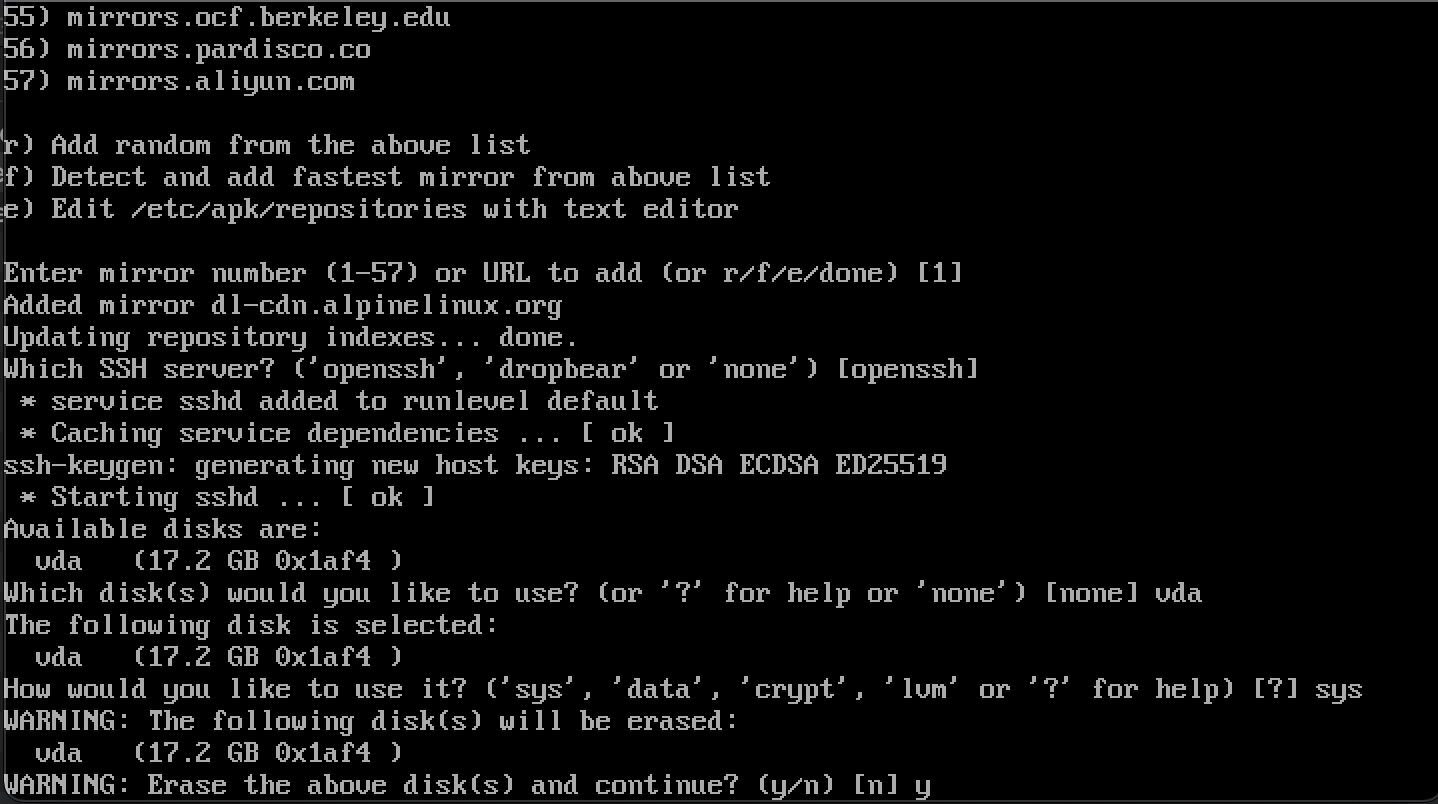
Set the password and then continue to press enter.
 For the next part is network configuration. The default configuration is enough for our requirements, press enter a few times until see the password ask. For this setup it is
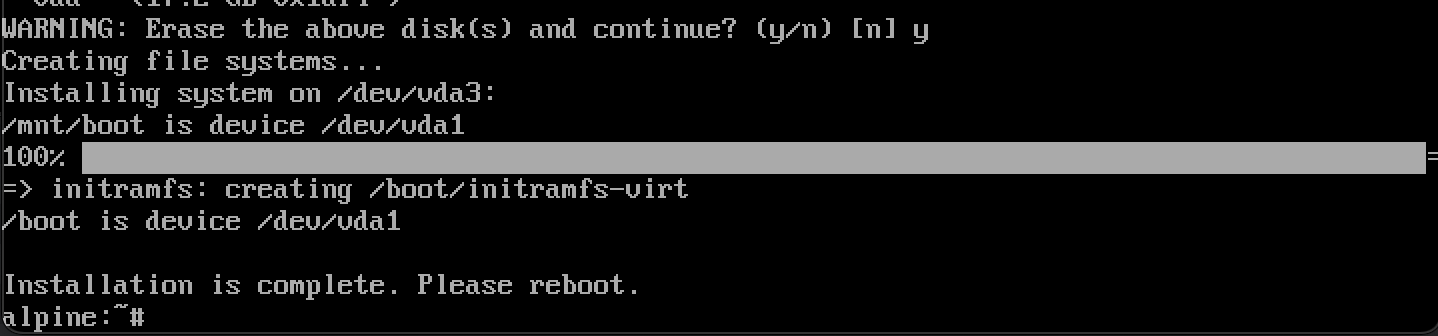
 vda and use type is sys. It will erase our virtual disk and start to copy configurations to disk.
When you see a reboot message, halt your system.
Allow SSH root
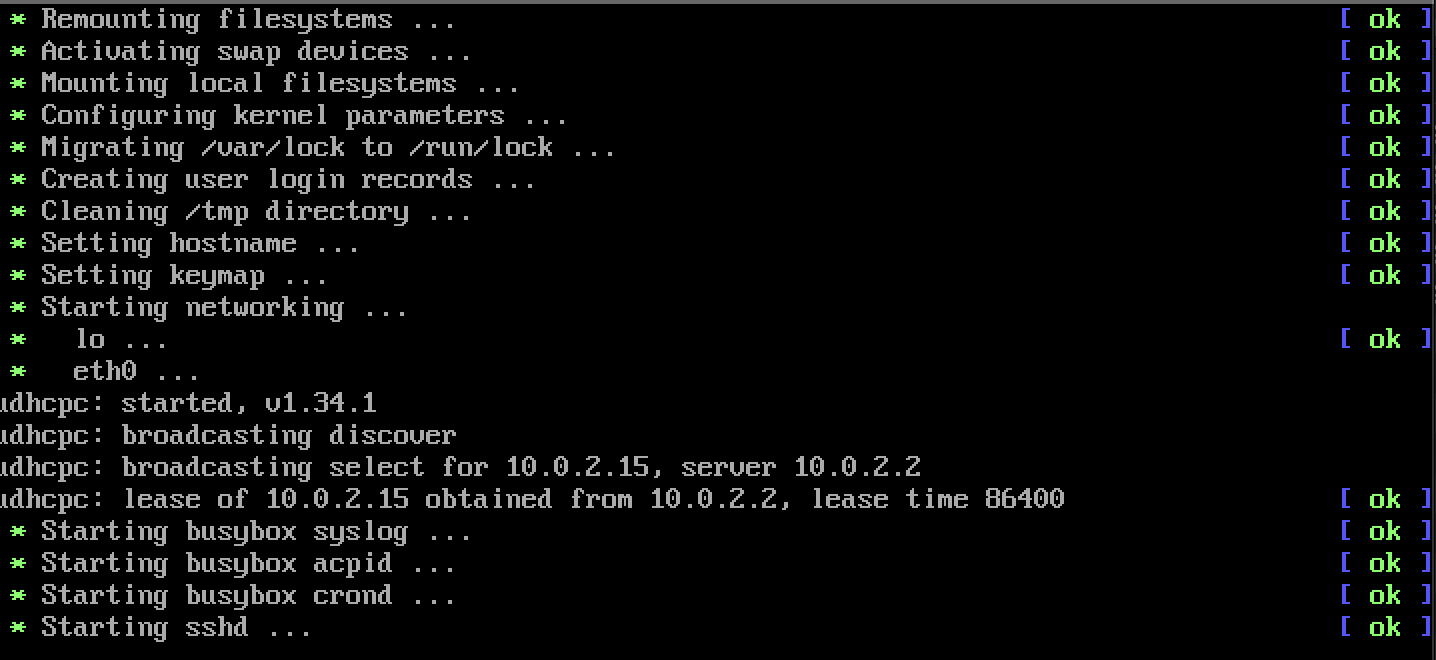
Before configuring our system, we have to boot from disk. But instead of executing a long command, we can put the command into the sh file, because we will use it many times in the future.
Note: If you see cpu is stuck error on qemu screen, you can restart your system.
echo '#!/bin/sh
qemu-system-x86_64 \
  -m 2048 \
  -vga virtio \
  -usb \
  -device qemu-xhci \
  -device usb-kbd \
  -device usb-tablet \
  -drive file=$HOME/Documents/alpine_vm/alpine.qcow2,if=virtio \
  -M pc -smp 4 \
  -net user,hostfwd=tcp::10022-:22 \
  -net nic --rtc base=utc,clock=host \
  -cpu kvm64-v1 --accel tcg' > alpine.sh
chmod +x alpine.sh
./alpine.sh
 By default, ssh server does not allow login as root with password. To enable root login from remote, change the ssh setting on your vm.
echo "PermitRootLogin yes" >> /etc/ssh/sshd_config
service ssh restart
Now your guest is ready to connect from the host. To access from host to guest via ssh you can execute below command.
ssh root@127.1 -p 10022
Alpine is ready to work for run x64 applications on your Mac M1
I hope to enjoy this blog,keep safe, see you next time.