Accessing More Ports on Cloudflare
on Cdn, Cloudflare, Http, Https, Proxy
Cloudflare is a 21’th century new generation CDN company that is used by 16.6% of websites on the internet.
For developing purposes, I start test applications on a remote server. To access this server, I can add a new subdomain domain at the Cloudflare dashboard and set a new AAAA record but this process takes time and I don’t want to set up a new domain for one time run applications.
Of course, I can access my test containers with proxy or VPN solutions, but for more security, performance and had some access rules on Cloudflare, I don’t want to access my server directly due to these reasons.
We can expose different ports with the docker -p option but Cloudflare only accepts a few ports for the free plan. To access more ports on Cloudflare, I write a github.com/ahmetozer/more-ports proxy tool.
This proxy service forwards incoming requests to the indicated port on localhost by default. If the port information is not in the URL (such as http://ahmetozer.org or https://ahmetozer.org), the server forwards the request to the localhost:8080.
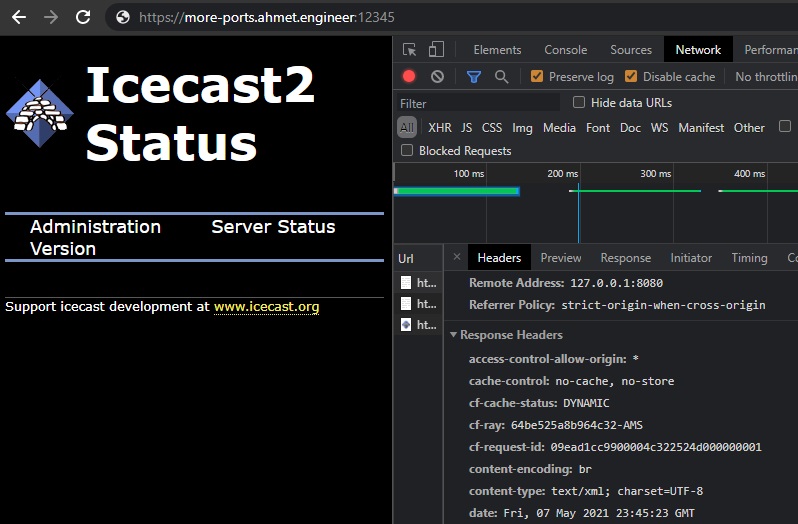
Example run
Server
Here is an example run command below.
docker run -it --rm --network host ghcr.io/ahmetozer/more-ports server \
--server-name more-ports.ahmet.engineer \
--client-cert /config/client-cloudflare.pem \
--https-redirect
With --https-redirect, non-encrypted requests are not allowed to pass behind the server and redirected to HTTPS.
Also --client-cert /config/client-cloudflare.pem arg prevents access to any request to HTTPS server, which they are not created at Cloudflare.
To link the server to your Cloudflare account, I check the hostname with --server-name server1.ahmetozer.org argument. Otherwise, we are only in control of the request created at CF but maybe it’s a different domain in different accounts.
Client
Accessing more ports also requires a client-side helper application.
Download the pre-compiled binary from https://github.com/ahmetozer/more-ports/releases.
Start the application.
ahmet@WORKSTATION~/Desktop>./more-ports-windows-amd64.exe client
2021/05/07 16:30:55 More Ports Service
2021/05/07 16:30:55 Client mode
2021/05/07 16:30:55 Remote ports for http :80, https :443
2021/05/07 16:30:55 Client proxy server started at 127.0.0.1:8080
2021/05/07 16:30:55 Client proxy configuration is located at http://127.0.0.1:8080/proxy.pac
In the client mode, the program provides proxy configuration. Set this given configuration URL on your system to the Automatic Proxy Configuration setting. This configuration only forwards ports defined URLs to reduce user-level CPU usage in your system. Automatic Proxy Configuration is under the proxy configuration page on your computer.
If you don’t want to use client-side applications or apply them to everyone at your home network, you can forward ports with iptables.
dst_ip="your_server_ip"

iptables -A PREROUTING -p tcp -d ${dst_ip} --match multiport --dports 80,8080,8880,2052,2082,2086,2095\
 -j DNAT --to-destination ${dst_ip}:80 -t nat

iptables -A PREROUTING -p tcp -d ${dst_ip} --match multiport ! --dports 80,8080,8880,2052,2082,2086,2095\
 -j DNAT --to-destination ${dst_ip}:443 -t nat
Thank you for reading. Stay safe, see you next time.